How to Make Quick and Easy Hat Stands- Part 1
Hat stands can be very expensive and they can also be fragile and easily damaged particularly if you are taking them to shows and exhibitions. Here are some really easy hat stands that are virtually bomb proof and are very easy on the pocket. With some very simple woodworking skills you will have them made in next to no time.
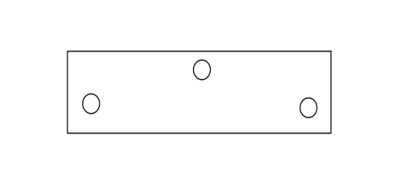
2. Take some thick wooden planks or 2x 3 timber planed all round and cut into varying lengths to make base plates. The timber needs to be thick enough to drill a deepish hole into and heavy enough to prevent toppling over when laden with hats. Get a hole saw drill bit the same diametre as your broomsticks and drill semi-way through the bases at positions wide enough apart to allow for the width of your hats. Drill straight down or at angles to give a larger spread
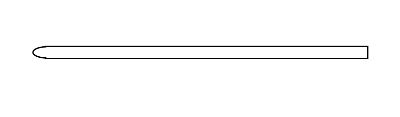
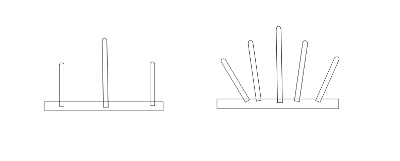
3. Arrange broomstick lengths in base plate so that your hats are well displayed, longer at the back and so on.....__Glue in place and spray a good neutral colour
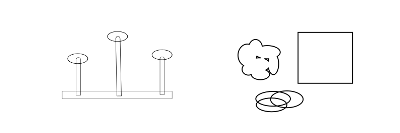
4. Cut some circles of light timber or heavy plastic...whatever you have lying around. These need to be big enough to support your hats. ~ 5 inches. Fix to uprights with screws. Cover with a bit of wadding or foam and finish with a light piece of fabric. Fix in place with an elastic band
They are not perfect, but they are robust and cheap. Look around your shed and see what you could recycle. They are very robust and with a little thought before hand these stands can be very effective and will last for years. .......Very simple hat stands indeed!
If you wish to download these instructions please click here
|
Blog SearchPopular Articles
TopicsAbout the Authors |


Your name *